
Sphinx + ReadTheDocs: My optimized documentation workflow
Sphinx is an excellent tool for documenting Python projects. It can generate comprehensive documentation from docstrings in the code, which means that the comments you write for your code also serve as its documentation.
If you are not familiar with writing docstrings or Sphinx documentation, I highly recommend checking out this tutorial:
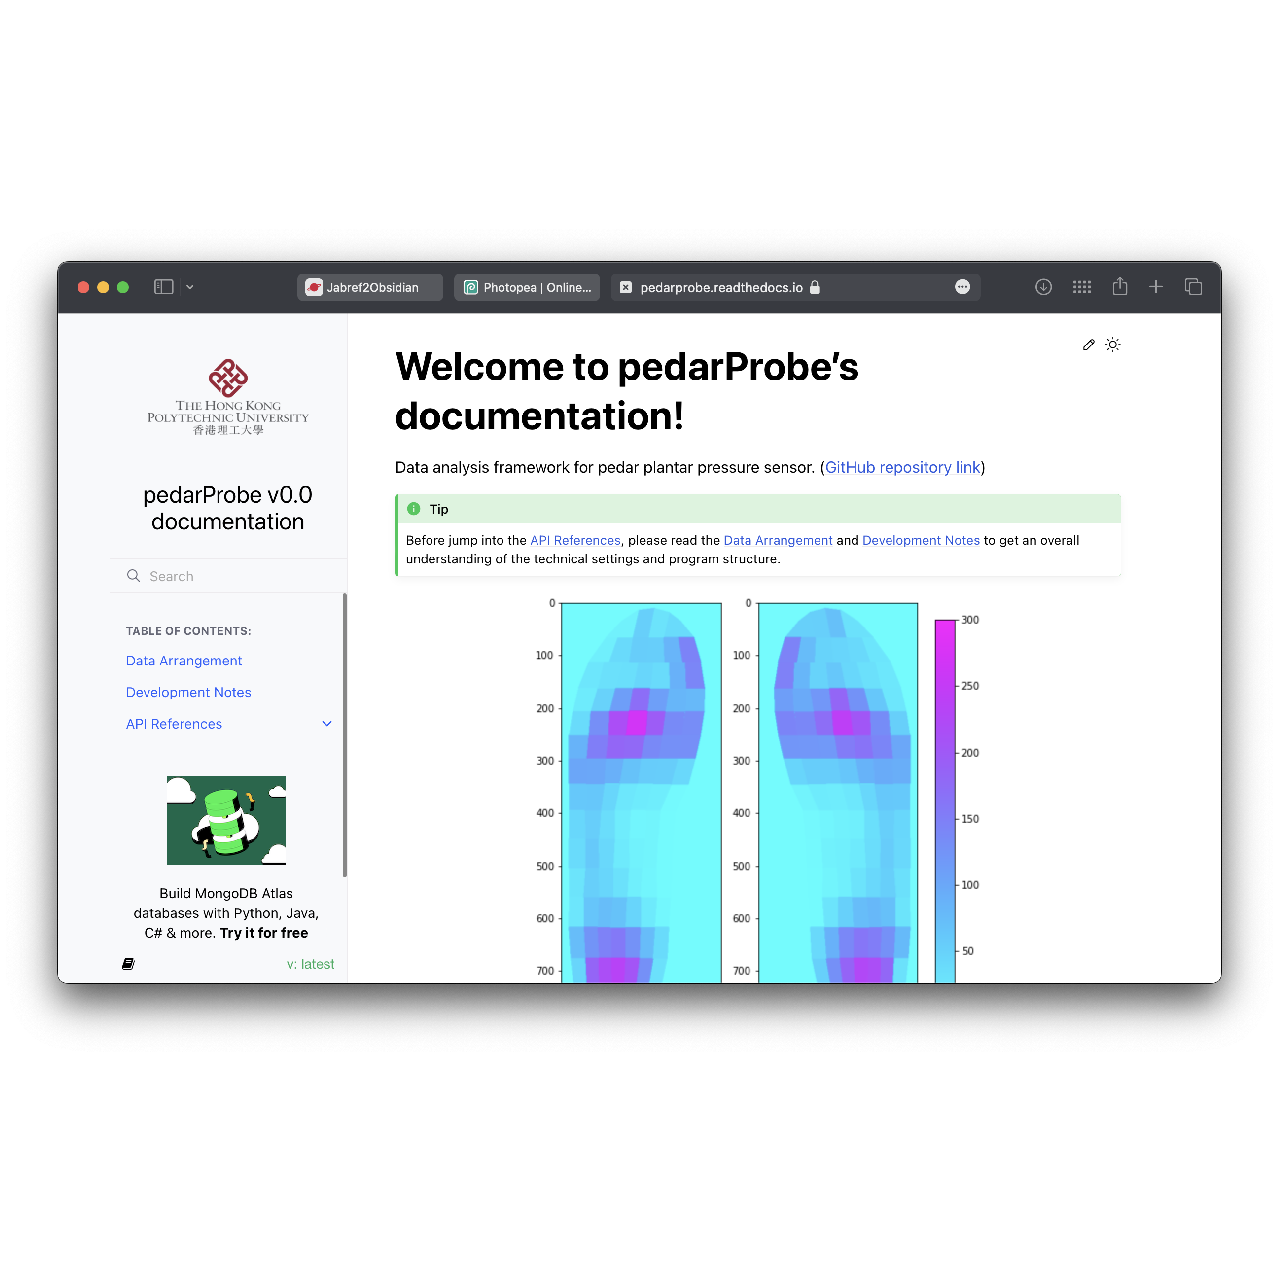
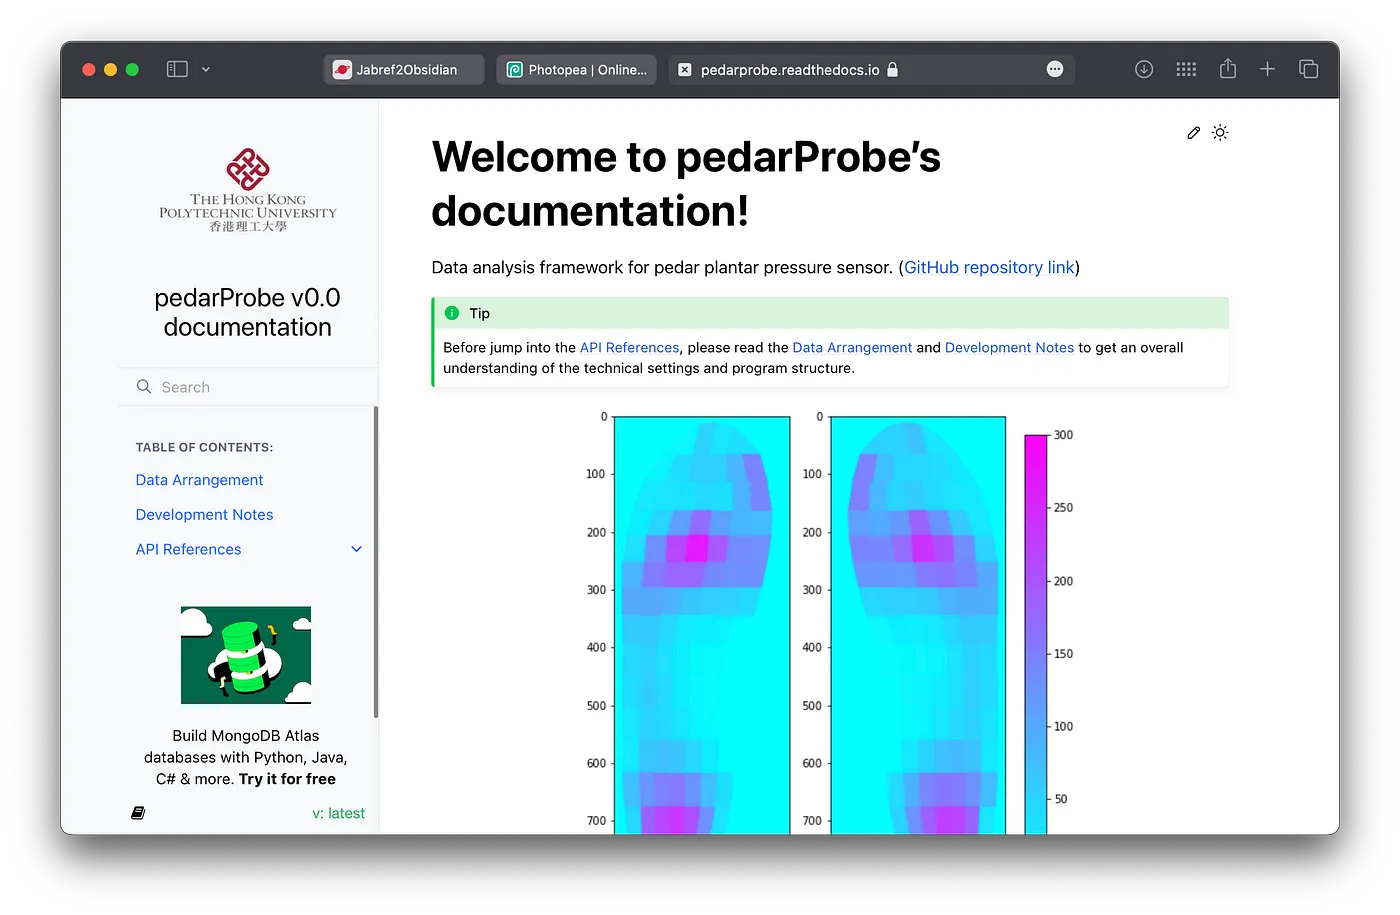
My workflow was adapted from this tutorial with some personalization. Here is an example:
Folder structure and setup
Under the root folder of the project, there are docs/ for storing documentation, <projectname>/ folder for storing program files, and auxiliary files including .gitignore, LICENSE.md, README.md, and requirement.txt.
P.S. Don't forget to ignore docs/build/ via .gitignore before committing to the repository.
At docs/, run
sphinx-quickstart
with option “separated source/ and build/ directories”.
Files and configuration
Edit docs/source/conf.py
Include program path:
import os
import sys
sys.path.insert(0, os.path.abspath('../..'))
P.S. With this setting, in the sub-module codes, other sub-module should be imported in this way: from <project-modle> import <sub-module>. Otherwise, errors may be thrown when building documentation.
Include extensions:
extensions = [
	'sphinx.ext.duration',
	'sphinx.ext.doctest',
	'sphinx.ext.autodoc',
	'sphinx.ext.autosummary',
	'sphinx.ext.inheritance_diagram',
	'sphinx.ext.napoleon',
	'sphinx.ext.viewcode',
	'sphinx.ext.autosectionlabel',
	'sphinx_copybutton',
	'myst_parser',
]

source_suffix = {
	'.rst': 'restructuredtext',
	'.txt': 'markdown',
	'.md': 'markdown',
}

autosummary_generate = True
autodoc_member_order = 'bysource'
P.S. Here we use the sphinx.ext.inheritance_diagram to generate inheritance diagram. It requires install graphviz package via homebrew:
Failed to connect to raw.githubusercontent.com:443 - CaptainOfPhB
Change theme template:
html_theme = 'furo'
html_logo = 'logo_tob.png'

html_context = {
	"display_github": True,
	"github_user": "liu-qilong",
	"github_repo": "Jabref2Obsdian",
	"github_version": "main",
	"conf_py_path": "/docs/",
}
Noted that the logo.png should be placed in docs/source/.
Add autosummary templates
By default, all classes in a module are presented in the same page. However, it usually results in a giant webpage which is very hard to read. In this case, my preference are separated pages for different classes. This feature was realized based on this StackOverflow answer:
You can find the template files you need here:
Place them in the docs/source/_templates/ folder.
Insert autosummary directives
Include the autosummary directives like below in a documentation page, e.g. api.rst, the whole documentation will be generated:
.. autosummary::
	:toctree: _autosummary
	:template: custom-module-template.rst
	:recursive:

	<projectname>
Then include the api.rst in the index page index.rst:
.. toctree::
	:maxdepth: 100
	:caption: Table of Contents:

	api
P.S. Don't forget to include the repository link in index.rst for the readers' reference.
Generate the documentation
Generate web pages:
make html
Generate LaTeX manual:
make latex
cd build/latex
make
P.S. If the documentation contains Chinese symbols, the second make command will not be implemented successfully. In this case, we need to place \usepackage{xeCJK} in the preamble and typeset it via XeLaTeX engine.
Publish to Read The Docs
Before set up a build on Read The Docs, requirements.txt is needed to be properly set:
- The path to
requirements.txtis needed to be specified viaRTD Project Page - Admin - Advanced Settings - Requirements file. The path should be relative to the repository's root folder. - Inbuilt packages of Python and Sphinx are not needed to be included in
requirements.txt.
In my case, the `:
# python packages
...

# jupyter notebook
ipykernel
nbconvert

# sphinx packages
sphinx_copybutton
myst_parser
furo
P.S. Under the hood, when building your documentation, RTD runs pip install -r requirements.txt to download all dependencies of your project. This is also a good way to set up the dependencies in your local machine (usually in a newly set up virtual environment).